
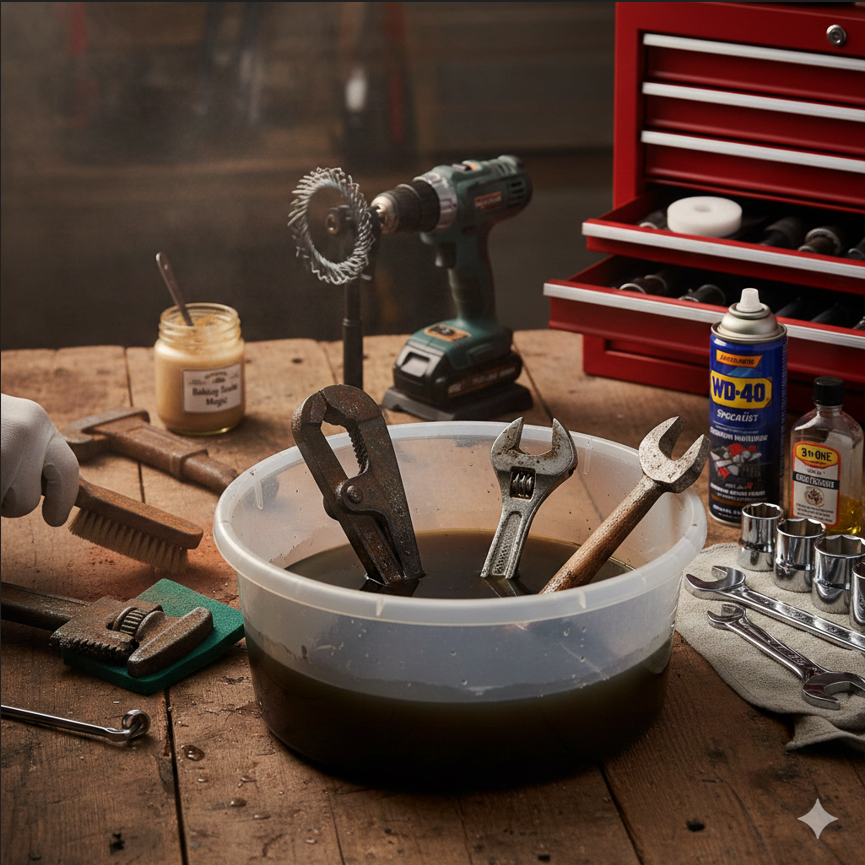
Rust is the primary enemy of tool longevity, but in 2026, removing it is simpler than ever thanks to a combination of bio-based chemical soaks and active mechanical abrasion. The key to successful restoration is a three-stage process: dissolving the iron oxide, scrubbing away the residue, and neutralizing the metal to prevent immediate “flash rusting.” Whether you choose a household solution like white vinegar or a professional-grade chelating agent like Evapo-Rust, the goal is to reveal the bare metal without pitting or damaging the tool’s structural integrity.
I work with many hand tools for my projects. The right ones take care of the slow parts, like shaping, cutting, and small fixes. They let me focus more on doing the job well instead of spending long hours on small steps.
The Soaking Method (Chemical and Natural Solutions)
Soaking is the “lazy” way to remove rust—and often the most effective. It allows the cleaning agent to penetrate deep into hinges, threads, and crevices that a brush simply cannot reach.
1. The White Vinegar and Salt Method
If you want a solution that is cheap, effective, and already in your pantry, look no further than white vinegar. The acetic acid in vinegar reacts with rust to create iron acetate, which dissolves in water.
-
How to do it: Submerge your tools in a plastic container filled with white vinegar. To speed up the chemical reaction, add about 1/4 cup of table salt per liter of vinegar.
-
The Timeline: Let them sit for 12 to 24 hours. When you see the rust turning into a black sludge or floating to the surface, they are ready.
-
The Pro Tip: Vinegar is an acid. While it eats rust, it can also dull the finish of the steel if left too long. Don’t leave your tools in the bath for more than two days.
2. Modern Chelating Agents (e.g., Evapo-Rust)
For high-value tools or vintage antiques, professional-grade chelating agents are the gold standard. Unlike acids, these solutions use a process called “chelation” to bond specifically to iron oxide molecules without touching the healthy steel underneath.
-
Why use it: These formulas are pH-neutral, non-toxic, and skin-safe. They won’t harm plastic handles, rubber grips, or your hands.
-
The Result: You get a “no-scrub” finish. Once the soak is done, the rust simply rinses away with water, leaving the original metal perfectly preserved.
3. Baking Soda Paste
If you are dealing with a tool that is too large to submerge, or perhaps a delicate measuring instrument like a caliper, a paste is your best bet.
-
The Mix: Combine baking soda with just enough water to create a thick, toothpaste-like consistency.
-
Application: Slather it over the rusted areas and let it sit for two hours. The baking soda acts as a mild alkaline cleaner that softens the oxidation, making it easy to scrub away with a toothbrush.
Mechanical Removal (Abrasives and Power)
Sometimes, chemistry needs a little physical help. If a tool has “scale” (thick, chunky rust), you need to break through that outer crust before a soak can do its work.
Manual Scrubbing for Precision
For most household hand tools, manual abrasion gives you the most control. You want to remove the rust, not the “good” metal underneath.
-
Steel Wool: Use a coarse grade (0 or 1) to knock off the loose flakes. Once the heavy lifting is done, switch to a fine grade (000) to polish the surface.
-
Scouring Pads: The green nylon pads (like Scotch-Brite) are excellent for removing the black residue left behind after a vinegar soak.
-
Wire Brushes: These are non-negotiable for cleaning out the “teeth” of a pipe wrench or the knurled grip on a socket wrench handle.
Power Tools for Heavy Restoration
If you are restoring an entire bucket of neglected tools, manual scrubbing will wear you out. This is where 2026 technology shines.
-
Wire Wheel Attachments: A wire wheel on a bench grinder or a cordless drill is the fastest way to strip rust. It can turn a rusted hammer head into a mirror-finished tool in under 60 seconds.
-
Flap Discs: If the rust has caused “pitting” (small holes in the metal), a fine-grit flap disc on an angle grinder can help smooth the surface.
-
Safety First: Always wear Z87+ rated safety glasses. Wire wheels are notorious for shedding tiny metal “needles” at high speeds that can fly toward your eyes.
The Critical Step—Neutralizing and Preventing “Flash Rust”
The biggest mistake people make is cleaning their tools and then setting them on a workbench to dry. Within minutes, the bare steel reacts with the oxygen and humidity in the air, forming a fine orange film known as flash rust.
The Rinse and Dry
If you used an acid (like vinegar), you must neutralize it. Rinse the tool in a mixture of water and a spoonful of baking soda. This stops the acid from continuing to eat the metal. Once rinsed, dry the tool immediately. Use a clean rag, or better yet, a blast of compressed air to get moisture out of the joints.
Applying a Protective Barrier
Bare metal needs a “coat” to stay healthy.
-
3-IN-ONE Oil: A classic for a reason. A light wipe-down creates a barrier against moisture.
-
Corrosion Inhibitors: Products like WD-40 Specialist Corrosion Inhibitor (not the regular blue can) are designed to stay on the metal for up to a year.
-
VpCI Technology: For long-term storage, place a Vapor phase Corrosion Inhibitor (VpCI) puck in your toolbox. These emit a dry vapor that coats your tools in a molecular protective layer.
Quick Comparison: Which Method Should You Use?
| Method | Best For | Speed | Cost |
| Vinegar Soak | General wrenches/pliers | 24 Hours | Very Low |
| Evapo-Rust | Antiques & Precision gear | 12 Hours | Medium |
| Wire Wheel | Flat surfaces & Heavy rust | Seconds | High (Tool cost) |
| Baking Soda | Small spots/Stains | 2 Hours | Low |
Frequently Asked Questions
1. Is regular WD-40 a rust remover?
No. Standard WD-40 is a water displacer and lubricant. While it can help loosen a rusted bolt, it does not chemically dissolve iron oxide. Use it after cleaning to prevent future rust.
2. Can I use Coca-Cola to clean my tools?
Yes, in a pinch. Cola contains phosphoric acid. However, it is much slower than vinegar and leaves behind a sticky sugar residue that can attract ants and dirt. It’s better to stick to vinegar.
3. Will vinegar ruin the rubber grips on my pliers?
Extended soaking (over 48 hours) can make some cheap rubbers feel tacky or brittle. It is always best to keep the handles out of the liquid by propping the tool up in the container.
4. How do I fix a tool that is “frozen” shut?
Do not force it, or you might snap the metal. Soak it in a penetrating oil or Evapo-Rust for 24 hours. If it is still stuck, use a heat gun to expand the outer part of the joint, which often breaks the rust bond.