
Maintaining oral hygiene sometimes involves taking matters into your own hands—literally. Whether you are using a stainless steel loop to clear tonsil stones or a scaler to manage tartar between checkups, using “clean” tools isn’t enough. In the warm, moist environment of the mouth, a tool that isn’t properly disinfected can introduce harmful bacteria like Staphylococcus or Streptococcus into your system.
I work with many sterilize dental tools for my projects. The right ones take care of the slow parts, like shaping, cutting, and small fixes. They let me focus more on doing the job well instead of spending long hours on small steps.
While true medical-grade sterilization requires an autoclave, you can achieve High-Level Disinfection (HLD) at home by following clinical protocols adapted for the kitchen.
The Critical Difference: Clean vs. Sterile
Before you start, you must understand the “Spaulding Classification,” a logic used by the CDC to determine how tools should be treated based on their risk:
-
Critical Items: Tools that touch bone or enter the bloodstream (e.g., surgical scalpels). These cannot be sterilized at home.
-
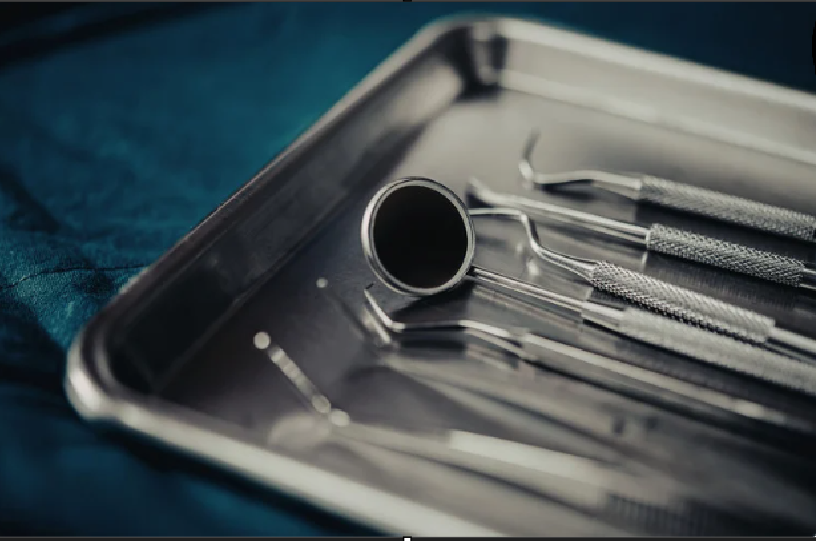
Semi-Critical Items: Tools that touch mucous membranes but don’t penetrate tissue (e.g., tonsil stone removers, mirrors). These require High-Level Disinfection.
-
Non-Critical Items: Tools that only touch intact skin. These require basic cleaning.
The Logic: If your “DIY” dental session involves any blood, stop. Home methods are only safe for intact tissue.
The “Bio-Burden” Scrub (Mechanical Cleaning)
You cannot sterilize “dirt.” If there is a microscopic layer of saliva or old debris on the metal, it creates a “shield” that protects bacteria from heat and chemicals.
-
Enzymatic Soak: If possible, soak tools in a mix of warm water and dish soap (or an enzymatic cleaner) for 5 minutes.
-
The Manual Scrub: Use a dedicated, soft-bristled brush (like a new toothbrush used only for this purpose) to scrub every crevice.
-
Distilled Water Rinse: Rinse the soap off using distilled water. Tap water contains minerals that can cause “pitting” (microscopic holes) in the metal where bacteria can hide.
High-Heat Sterilization (The Preferred Method)
Heat is the most reliable way to kill pathogens because it destroys the proteins and enzymes that allow bacteria to live.
Method A: The Pressure Cooker (The “Home Autoclave”)
A standard pot of boiling water only reaches 100°C (212°F). A pressure cooker (like an Instant Pot) can reach 121°C (250°F) under pressure. This extra heat is what kills hardy bacterial spores.
-
How to do it: Place 2 inches of water in the cooker. Use a steamer basket so the tools do not touch the bottom.
-
The Setting: Run a cycle at 15 PSI for 20 minutes.
-
Why it works: According to a study published in PubMed, pressure cookers are comparable in efficiency to medical autoclaves for destroying resistant spores.
Method B: The 30-Minute Boil
If you don’t have a pressure cooker, boiling is the next best thing, though technically it is “High-Level Disinfection” rather than total sterilization.
-
The Rule: Submerge tools completely in boiling water.
-
The Timer: Start the clock only once the water has reached a rolling boil. Boil for at least 30 minutes.
-
Pro Tip: Add a small amount of baking soda to the water to help prevent the metal from rusting (oxidation).
Chemical Soaks (For Heat-Sensitive Tools)
If your tools have plastic handles or silicone grips, high heat might warp them. In this case, use “Cold Sterilization.”
6% Hydrogen Peroxide
Do not confuse this with the 3% brown bottle found in the first-aid aisle. 6% “Food Grade” or “Professional Grade” peroxide is a powerful oxidizer.
-
Submerge: Leave tools in the solution for 30 minutes.
-
Logic: At this concentration, hydrogen peroxide creates free radicals that attack the cell membranes of germs.
70% Isopropyl Alcohol
Surprisingly, 70% alcohol is better than 91% for disinfection. The higher water content in the 70% version slows down evaporation, allowing the alcohol to penetrate the cell walls of the bacteria before it dries.
-
Submerge: For maximum effectiveness, the tools should soak for up to 24 hours.
The “Safe-Zone” Storage
The biggest mistake people make is cleaning a tool and then setting it on a bathroom counter or touching it with unwashed hands. This is called Re-Contamination.
-
The Sterile Field: Lay out a piece of fresh aluminum foil or a sterile medical gauze pad.
-
Removal: Use clean metal tongs (which were also boiled/disinfected) to move your tools from the pot or chemical soak to the drying pad.
-
Aseptic Storage: Once 100% dry, store the tools in a glass jar that has been wiped with alcohol.
-
The “30-Day Rule”: If you haven’t used the tool in 30 days, the “seal” of the container may have allowed moisture or air in. Re-sterilize before use.
| Tool Material | Best Method | Risk of Damage |
| High-Quality Stainless Steel | Pressure Cooker | Very Low |
| Lower-Grade Metal (Chrome) | 70% Alcohol Soak | High (May rust) |
| Plastic/Silicone Handles | 6% Hydrogen Peroxide | Medium (May cloud) |
When to Seek a Professional
Home sterilization has its limits. If you notice any of the following, do not use the tool:
-
Pitting or Rust: If the metal looks “pock-marked,” it is physically impossible to clean those tiny holes at home.
-
Dulling: If a scraper or scaler becomes dull, it can cause more trauma to your gums than help.
-
Complex Designs: If a tool has hollow tubes or complex hinges, home methods likely won’t reach the internal surfaces.
Safety Over Convenience
Sterilizing dental tools at home is a process of discipline over speed. While it may be tempting to simply run a scraper under hot tap water, the microbiology of the mouth is unforgiving. By using the Pressure Cooker method (15 PSI for 20 minutes) or a 30-minute rolling boil, you effectively bridge the gap between “household clean” and “clinically safe.”
Remember: The goal of DIY oral care is to improve your health, not to introduce new pathogens. If a tool is rusted, pitted, or has been used on an open wound, the only safe place for it is the trash. Respect the science of hygiene, and your smile will thank you.
Frequently Asked Questions (FAQs)
1. Can I use a microwave to sterilize my dental tools?
No. Never place metal dental tools in a microwave as it will cause arcing, fire, and damage to the appliance. Even for plastic tools, microwaves do not heat evenly enough to guarantee the destruction of all pathogens. Stick to the pressure cooker or chemical soak methods.
2. Is 91% Isopropyl Alcohol better than 70%?
Actually, 70% is superior for disinfection. The higher water content in 70% alcohol slows down the evaporation process and allows the alcohol to penetrate the cell walls of bacteria. 91% alcohol often evaporates too quickly to kill hardy microbes effectively.
3. How often should I sterilize my tools?
You should perform a full sterilization cycle before and after every single use. Even if the tool has been sitting in a “clean” container, it is best practice to at least give it a quick high-level disinfection soak if it has been stored for more than a few days.
4. Can I use bleach to clean my dental scrapers?
It is not recommended. While bleach is a powerful disinfectant, it is highly corrosive to stainless steel. Prolonged exposure will cause “pitting” (microscopic holes), which actually gives bacteria a place to hide and grow, making the tool impossible to clean in the future.
5. What is the best way to clean a “Tonsil Stone” remover?
Since these are often made of plastic or have LED lights, they cannot be boiled. The best method is to remove any detachable tips, scrub them with soapy water, and soak the tips in 6% Hydrogen Peroxide for 30 minutes. Wipe the handle (electronics) with 70% alcohol.