Garden tools are key to maintaining a healthy, productive garden. From pruning shears to spades, they help with planting, trimming, and cleaning garden beds. However, these tools can also carry harmful bacteria, fungi, and pests. These can spread diseases and harm your plants.
Regular sterilization of your garden tools is crucial to keep your plants safe and your tools working well. In this guide, we’ll show you how to sterilize garden tools to prevent disease spread and maintain their effectiveness. By the end of this post, you’ll know exactly how to protect your plants and keep your tools in top shape.
Why Sterilizing Garden Tools is Important
Sterilizing your garden tools prevents the spread of plant diseases, pests, and bacteria. When moving between plants or garden areas, germs and insects can easily hitch a ride on your tools. Without proper cleaning, you may unknowingly spread harmful organisms to healthy plants.
Common garden diseases like rust, blight, and mildew spread quickly through dirty tools. Small pests such as aphids and fungi spores can hide in tool crevices. Sterilizing your tools reduces the risk of contamination and protects your plants.
Sterilizing tools is even more important when working with infected plants. Clean and disinfect your tools to avoid spreading diseases to other plants. In the next section, we’ll show you how to sterilize your tools effectively and simply.
What You Need to Sterilize Garden Tools
Before starting, it’s important to have the right supplies. The good news is that sterilizing garden tools doesn’t require expensive or hard-to-find products. You can use items that are already in your home.
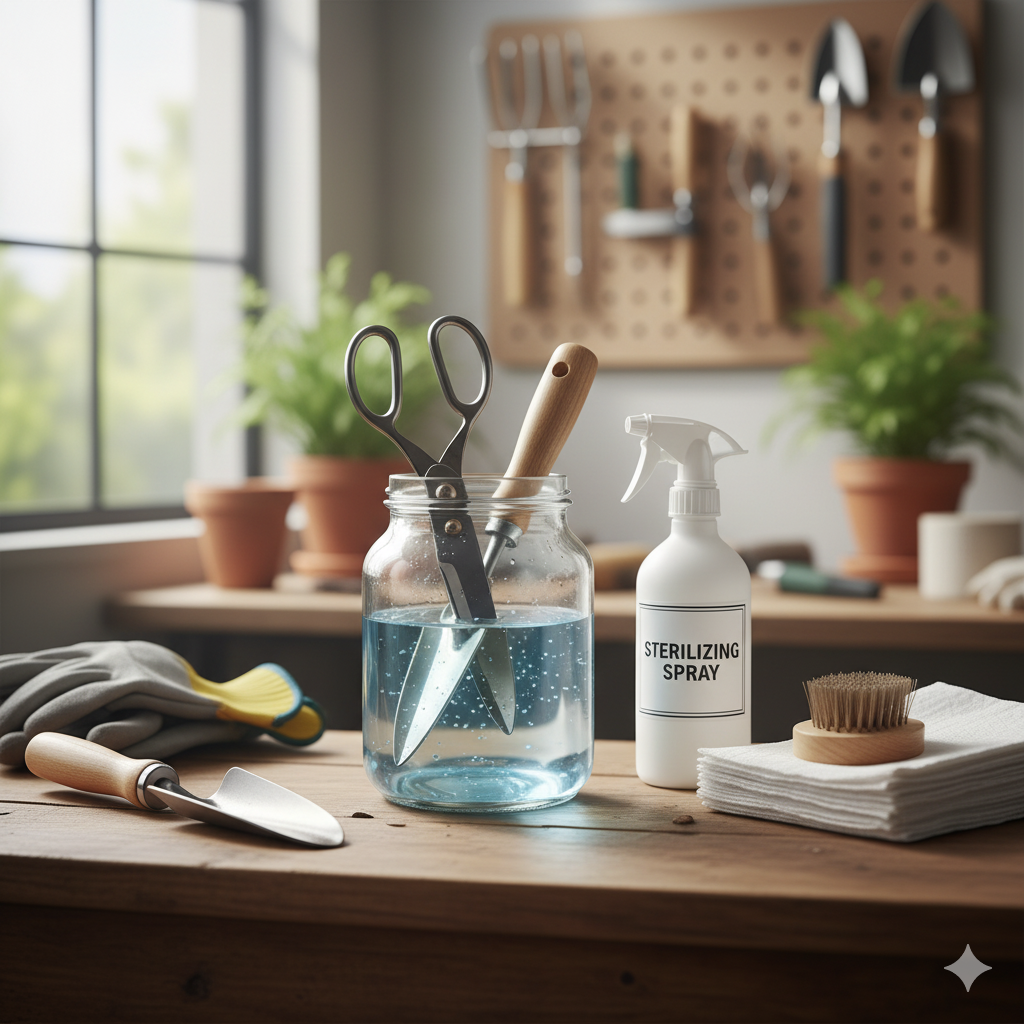
Here’s a list of what you’ll need:
A cleaning brush: A small wire brush or stiff-bristled brush will help remove dirt, soil, and plant residue from the surface of your tools.
Soapy water: Regular dish soap mixed with warm water is an easy and effective solution for washing off dirt and grime.
Disinfectant: You can use a commercial disinfectant or make your own by mixing water with either rubbing alcohol (70%) or household bleach. Alcohol and bleach are both excellent disinfectants that kill bacteria, viruses, and fungi.
A bucket or container: You’ll need a container to hold your cleaning solution, where you can soak smaller tools like pruners or knives.
A towel or rag: This is for drying your tools after cleaning to prevent rust and corrosion.
Rubber gloves: While not required, gloves can protect your hands when working with cleaning solutions like bleach or alcohol.
Once you have your supplies ready, you can begin the cleaning and sterilization process.
How to Sterilize Garden Tools
Step 1: Clean the Tools First
Before you start disinfecting your tools, it’s important to remove dirt, soil, plant material, and rust. If you skip this step, the disinfectant might not work as effectively because it will be blocked by dirt or other debris.
Wash the tools: Start by soaking your tools in a bucket of soapy water for a few minutes to loosen dirt and debris. For smaller tools like shears or pruners, you can use a sponge or brush to scrub the surfaces. For larger tools like shovels and hoes, use a wire brush or stiff-bristled brush to clean them off.
Rinse thoroughly: After scrubbing, rinse the tools with clean water to remove any soap and loose dirt. Make sure they are completely free of grime.
Step 2: Disinfect the Tools
Once your tools are clean, it’s time to disinfect them. This step is crucial for killing any germs, bacteria, fungi, or pests that may be lingering on the surface.
Disinfect using rubbing alcohol or bleach: For most tools, you can use either rubbing alcohol or bleach. If you are using rubbing alcohol, pour it directly onto a rag or a sponge and wipe down the tools. For bleach, mix one part bleach with ten parts water and soak your tools in the solution for at least 10 minutes. Be sure to wear gloves when handling bleach.
Target hard-to-reach areas: Use a cloth or sponge to clean hard-to-reach areas, such as joints, blades, and crevices where dirt and pests may hide.
Let the tools air dry: After disinfecting, allow your tools to air dry completely before storing them. This will prevent rust and corrosion.
Step 3: Maintain Your Tools After Sterilization
Once your tools are sterilized and dry, take some extra steps to ensure that they remain in good condition for longer:
Lubricate the tools: Apply a small amount of oil to the metal parts to prevent rust. Vegetable oil, motor oil, or specialized tool oils work well.
Store your tools properly: Keep your tools in a dry, sheltered place to avoid exposure to moisture, which can lead to rust. If possible, hang your tools on a wall or store them in a shed to keep them organized and off the ground.
Sterilizing your garden tools is an essential task that can save you time, effort, and money in the long run. By following these simple steps, you can help protect your garden from harmful diseases and pests, ensuring that your plants grow healthy and strong.
Common Mistakes to Avoid While Sterilizing Garden Tools
Sterilizing your garden tools is a simple but important task, yet many people make mistakes that can reduce its effectiveness. Avoiding these common errors will help ensure that your tools stay properly sanitized and your plants remain healthy.
Mistake 1: Not Cleaning the Tools Thoroughly Before Disinfecting
One of the most common mistakes people make is skipping the cleaning step. If you don’t remove dirt, sap, or plant material before disinfecting, the disinfectant will not be able to kill bacteria, fungi, or other harmful organisms effectively. For example, sap and soil can create a barrier on your tools that prevents the disinfectant from coming into contact with harmful germs.
Solution: Always clean your tools first with soapy water, using a scrub brush to remove dirt and other debris. Only after the tools are thoroughly cleaned should you proceed to disinfecting them.
Mistake 2: Using Too Much Bleach
While bleach is an excellent disinfectant, using too much of it can cause damage to your tools. Strong bleach solutions can corrode metals, causing rust over time, especially if left in contact for too long. Additionally, bleach can be harmful to your plants if it’s not properly rinsed off.
Solution: When using bleach, dilute it properly (one part bleach to ten parts water). Do not soak the tools for too long, and always rinse them thoroughly afterward to ensure no bleach residue remains.
Mistake 3: Not Wearing Gloves
When handling cleaning products like bleach or alcohol, some people neglect to wear gloves. These chemicals can irritate your skin or cause long-term damage with frequent exposure. Plus, using bleach or rubbing alcohol can leave a strong smell on your hands that can linger.
Solution: Always wear rubber gloves when disinfecting your tools, especially if you are using strong chemicals like bleach or rubbing alcohol. This will protect your hands and make the cleaning process safer for you.
Mistake 4: Not Drying Tools Properly After Sterilizing
After sterilizing your tools, many people make the mistake of not drying them properly before storing them. Leaving tools wet or damp can result in rust, which will shorten their lifespan and reduce their effectiveness.
Solution: Always dry your tools thoroughly after cleaning and disinfecting them. Use a towel or rag to wipe off excess water, and let them air dry completely before storing them away.
Mistake 5: Ignoring Tool Maintenance After Cleaning
Sterilizing your tools is important, but it’s equally important to maintain them after sterilization. If you don’t lubricate metal parts or keep your tools stored properly, they may rust or become dull over time.
Solution: After drying your tools, apply a small amount of oil to the metal parts to prevent rust. Keep your tools in a dry area, preferably in a shed or garage where they are protected from rain or excess moisture.
Best Practices for Sterilizing Garden Tools
Now that you know how to sterilize garden tools and what mistakes to avoid, let’s look at some best practices to keep in mind:
Sterilize Regularly: Clean and disinfect your tools after each use, especially when moving between different garden areas. If you’re dealing with diseased plants, be extra careful to sterilize before moving to healthy plants.
Keep Tools Organized: Storing your tools properly is a simple but effective way to extend their life. Keeping them in a dry, sheltered place helps prevent rust, and hanging them on a wall keeps them organized and easy to access.
Use Eco-Friendly Options: If you’re concerned about using bleach or alcohol, consider using eco-friendly disinfectants. Solutions like vinegar and water can be effective for cleaning tools while being safer for the environment.
Don’t Forget the Handles: When sterilizing, make sure to clean and disinfect the handles as well. Handles can harbor dirt, bacteria, and fungi, especially if they’re made of wood. Wipe them down with a damp cloth after every use.
Sterilizing your garden tools is an important practice that can protect your plants and keep your garden healthy. By following the simple steps we’ve outlined in this article, you can easily remove dirt, kill harmful bacteria, and avoid spreading diseases and pests throughout your garden.
Regular cleaning and disinfecting are vital to ensure that your tools stay in good condition, and your garden thrives. Remember to always clean before disinfecting, use the correct disinfectants, and maintain your tools properly to avoid rust and damage. By taking these steps, you’ll ensure that your tools stay effective and that your plants remain protected from harm.
FAQs (Frequently Asked Questions)
1. How often should I sterilize my garden tools?
You should sterilize your tools after each use, especially if you’ve been working with diseased plants. At the very least, aim to disinfect your tools once a month if you’re doing regular gardening tasks.
2. Can I use vinegar instead of bleach to sterilize my tools?
Yes! Vinegar is a natural disinfectant and can work well for cleaning garden tools. It may not be as strong as bleach, but it’s a great eco-friendly option for regular maintenance.
3. How do I prevent rust on my garden tools?
After cleaning and sterilizing, apply a small amount of vegetable oil or tool lubricant to the metal parts of your tools. This will create a protective layer and help prevent rust from forming.
4. Is it necessary to sterilize garden tools if I’m just trimming flowers?
Yes, it’s still a good idea. Even when trimming healthy flowers, sterilizing your tools helps prevent the spread of any potential bacteria or fungi that could harm your plants in the future.
5. Can I sterilize large garden tools like shovels and hoes the same way?
Yes! The process is the same for large tools, although you may need to use a wire brush or stiff scrub brush to clean the dirt off. For disinfecting, you can soak the tool in a large container or use a sponge to apply the disinfectant.