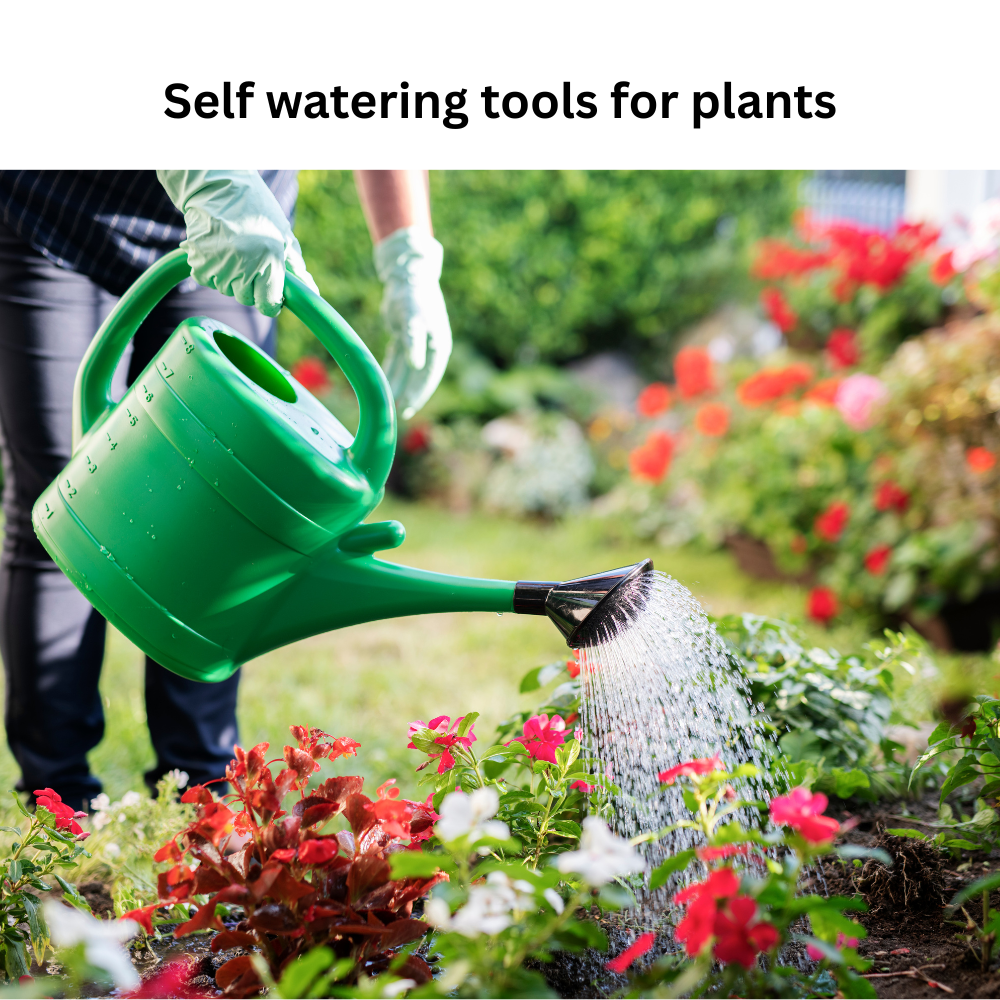
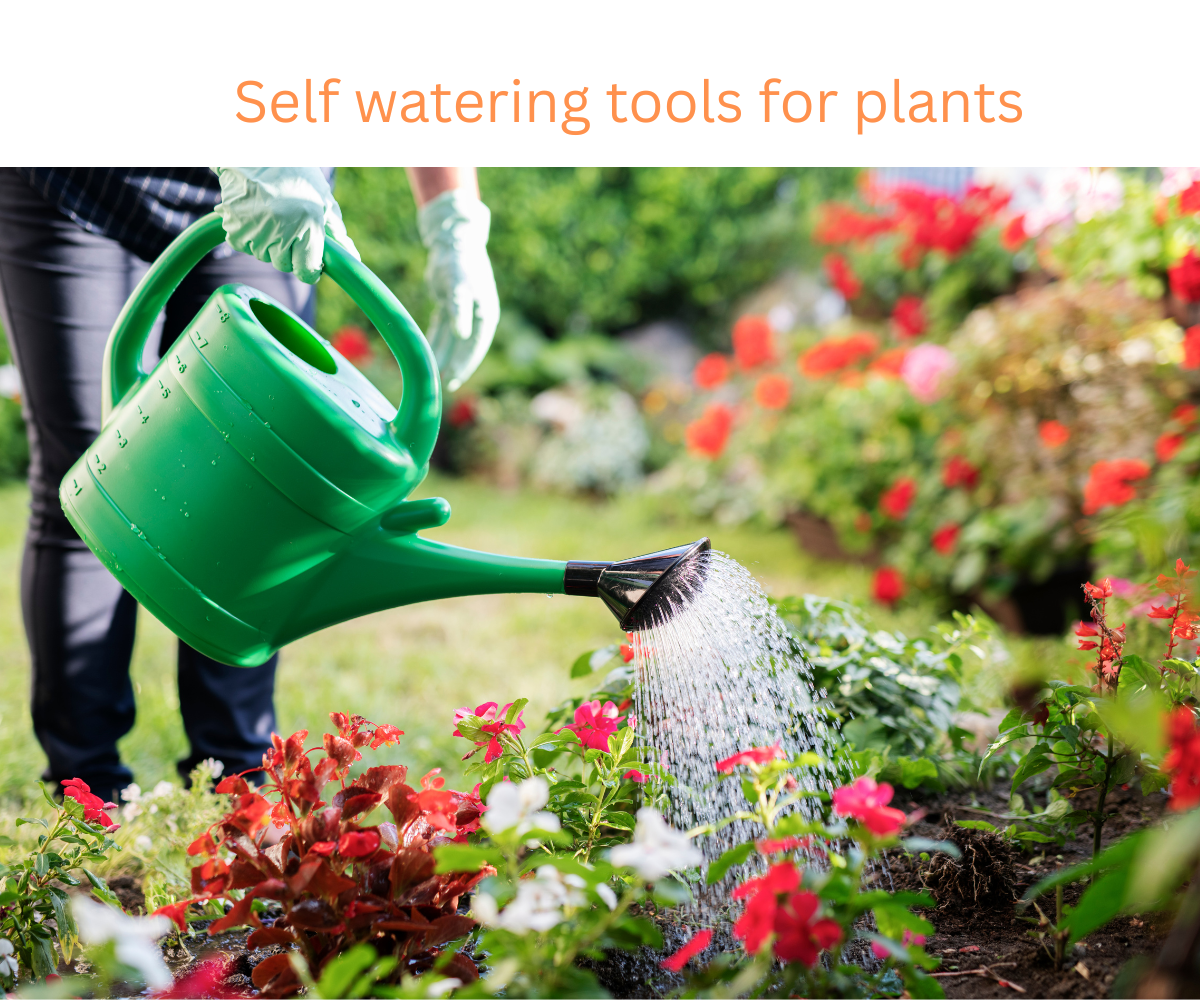
Plant maintenance is essential, but daily watering can be challenging. Sometimes we are too busy or forget. Self-watering equipment are useful in this situation. Without requiring constant watering, these tools help keep your plants hydrated
Self-watering tools are helpful for:
- People who travel often.
- Those with busy schedules.
- Beginners who are new to gardening.
- Anyone who wants to make plant care easier.
Using these tools can save time and help your plants grow healthy and strong.
What Are Self-Watering Tools?
Self-watering tools are devices that provide water to your plants automatically. They release water slowly into the soil, keeping it moist. This means you don’t have to water your plants every day.
Some common self-watering tools include:
- Watering Spikes: These are placed in the soil and connected to a water bottle. They slowly release water as the soil dries.
- Watering Globes: These are glass or plastic bulbs that you fill with water. They release water into the soil over time.
- Self-Watering Pots: These pots have a water reservoir at the bottom. The soil draws water from the reservoir as needed.
- Ollas: These are unglazed clay pots buried in the soil. They release water slowly through their walls.
These tools are easy to use and can make plant care much simpler.
Benefits of Using Self-Watering Tools
Using self-watering tools has many benefits:
- Saves Time: You don’t have to water your plants every day.
- Prevents Overwatering: These tools release just the right amount of water.
- Ideal for Travel: Your plants stay watered even when you’re away.
- Reduces Water Waste: Water is used efficiently, reducing waste.
- Promotes Healthy Growth: Consistent moisture helps plants grow better.
These benefits make self-watering tools a great choice for anyone who wants to take better care of their plants with less effort.
How to Use Self-Watering Tools
Using self-watering tools is easy. Here’s how to use some common ones:
Watering Spikes
- Fill a plastic bottle with water.
- Attach the watering spike to the bottle.
- Insert the spike into the soil near your plant.
- The water will slowly drip into the soil as it dries.
Watering Globes
- Fill the globe with water.
- Insert the neck of the globe into the soil near your plant.
- The globe will release water into the soil over time.
Self-Watering Pots
- Fill the water reservoir at the bottom of the pot.
- Plant your plant in the soil above the reservoir.
- The soil will draw water from the reservoir as needed.
Ollas
- Bury the olla in the soil near your plant, leaving the top exposed.
- Fill the olla with water.
- The olla will release water into the soil through its walls.
These tools are simple to use and can make caring for your plants much easier.
Types of Self-Watering Tools
There are many self-watering tools available. Each type works differently and is suitable for different plants and situations. Choosing the right tool helps your plants grow healthy.
1. Watering Spikes
Watering spikes are very popular. They are easy to use and inexpensive.
- How they work: Fill a bottle with water and attach it to the spike. Insert the spike into the soil. Water drips slowly as the soil dries.
- Best for: Potted plants and small garden plants.
- Tip: Use a plastic bottle that fits the spike. Check the drip rate so the plant gets enough water.
2. Watering Globes
Watering globes are glass or plastic bulbs. They look like small bottles.
- How they work: Fill the globe with water. Insert it into the soil with the narrow neck down. Water slowly moves into the soil.
- Best for: Indoor plants and decorative pots.
- Tip: Place the globe deep enough so it doesn’t tip over. Refill as needed.
3. Self-Watering Pots
Self-watering pots have a reservoir at the bottom. The soil absorbs water when needed.
- How they work: Fill the reservoir with water. Soil draws water through a wicking system.
- Best for: Large indoor plants or plants that need steady moisture.
- Tip: Clean the reservoir regularly to prevent algae or mold.
4. Ollas (Clay Pots)
Ollas are unglazed clay pots buried in the soil. They release water slowly through the clay walls.
- How they work: Fill the olla with water. Soil absorbs water through the porous clay.
- Best for: Outdoor gardens and vegetable patches.
- Tip: Place ollas near plant roots for the best results.
5. Automatic Drip Systems
These are advanced tools for large gardens or multiple plants.
- How they work: Connected to a water source, they drip water slowly to each plant. Some have timers.
- Best for: Busy gardeners or large plant collections.
- Tip: Adjust the drip rate according to the plant type.
How to Choose the Right Self-Watering Tool
Choosing the right tool depends on your plants, space, and lifestyle.
Consider These Factors:
- Plant Type:
- Succulents need less water.
- Vegetables need steady moisture.
- Indoor plants may prefer watering globes or pots.
- Pot Size:
- Small pots: Watering spikes or globes work best.
- Large pots: Self-watering pots or drip systems are better.
- Time Away:
- If you travel often, choose a tool with a large reservoir or automated drip system.
- Budget:
- Watering spikes and globes are cheap.
- Automatic systems cost more but save more time.
- Ease of Use:
- Choose a tool you can set up and refill easily.
Tips for Maintaining Self-Watering Tools
Even self-watering tools need care. Proper maintenance keeps them working well.
- Clean Regularly: Remove algae or dirt from spikes, globes, and reservoirs.
- Check Water Flow: Make sure water is dripping slowly, not too fast or too slow.
- Refill on Time: Don’t let the reservoir run dry for long periods.
- Store Properly: If not in use, clean and store the tools in a dry place.
- Avoid Chemicals: Use plain water. Chemicals can damage the tool or plant roots.
Common Mistakes to Avoid
- Overfilling reservoirs: Can drown plant roots.
- Using the wrong tool for the plant type.
- Not cleaning the tools: Causes clogging and poor water flow.
- Placing tools too far from roots: Water won’t reach the plant.
- Forgetting to check drip rate: Some plants need more water than others.
By following these tips, you can keep your self-watering tools effective and your plants healthy.
Practical Examples of Self-Watering Tools
Using self-watering tools in real life is simple. Here are some practical examples to help you understand how they work in different situations.
Example 1: Indoor Plants
If you have houseplants, watering globes or small watering spikes are ideal.
- Place a watering globe in a pot with soil.
- Fill it with water.
- The soil will draw water slowly.
- You only need to refill it every few days or once a week, depending on the plant.
This keeps indoor plants healthy even if you forget to water them.
Example 2: Small Outdoor Garden
For a small vegetable patch or flower bed, use ollas.
- Bury clay ollas near the roots of plants.
- Fill them with water.
- Water seeps slowly into the soil, keeping it evenly moist.
This method reduces water waste and saves time.
Example 3: Large Garden or Multiple Pots
For a large garden, automatic drip systems work best.
- Connect the system to a water source.
- Set timers or adjust the drip rate.
- Each plant receives the right amount of water.
This is perfect for gardeners who travel often or have many plants.
| Tool Type | Best For | Pros | Cons |
|---|---|---|---|
| Watering Spikes | Small pots, indoor | Cheap, easy to use | Bottle needed, may tip over |
| Watering Globes | Indoor plants | Decorative, simple | Fragile, refill often |
| Self-Watering Pots | Large indoor pots | Steady water supply, less refilling | Expensive, cleaning needed |
| Ollas | Outdoor garden | Saves water, durable | Installation needed |
| Drip Systems | Large gardens | Automatic, adjustable | High cost, complex setup |
Choosing the right tool depends on your plants, space, and budget.
Advanced Tips for Using Self-Watering Tools
- Placement Matters: Place the tool close to the plant’s root zone. Water must reach the roots to be effective.
- Adjustable Drip Rate: Some tools allow you to change the water flow. Increase water for thirsty plants like vegetables and reduce for succulents.
- Monitor Soil Moisture: Even with self-watering tools, check soil occasionally. Plants need the right moisture level.
- Combine Tools: For a large garden, combine ollas with drip systems. This ensures both indoor and outdoor plants get enough water.
- Seasonal Adjustments: Water less during cool months and more during hot months. Adjust the drip rate or refill frequency accordingly.
How Self-Watering Tools Improve Plant Growth
Self-watering tools help plants in many ways:
- Consistent Moisture: Plants get a steady supply of water, preventing stress from drought or overwatering.
- Healthy Roots: Roots grow deeper and stronger when soil stays evenly moist.
- Better Yield: Vegetables and flowers grow better when water is consistent.
- Less Disease: Avoids water sitting on leaves or soil surface, reducing fungal diseases.
- Time Efficiency: Saves gardeners time and reduces daily effort.
Using these tools correctly can make your garden healthier and more productive.
Maintaining Self-Watering Tools
Even self-watering tools need care to work properly over time. Maintenance is simple but important.
Cleaning
- Wash watering spikes, globes, and reservoirs regularly with warm water.
- Remove algae, dirt, or debris that can block water flow.
- For drip systems, flush the tubes occasionally to prevent clogs.
Checking Water Flow
- Make sure water drips slowly, not too fast or too slow.
- Adjust drip valves if available.
- If using ollas, check that water seeps through the clay walls.
Refilling
- Refill tools before the reservoir runs completely dry.
- For globes and spikes, refill every few days or according to plant needs.
- Large reservoirs or drip systems may need weekly refills.
Storage
- If tools are not in use, clean and store them in a dry place.
- Glass globes and plastic spikes should be kept indoors during winter to prevent cracking.
- Store ollas and drip system parts in a shaded area to protect from weather damage.
Troubleshooting Common Problems
Even with self-watering tools, you may face problems. Here’s how to solve them:
- Water not reaching roots
- Check placement; the tool must be close to the root zone.
- Adjust the depth of globes or spikes in the soil.
- Clogged drip system
- Flush the tubes with clean water.
- Remove dirt or algae from valves.
- Overwatering or underwatering
- Adjust drip rate or refill frequency.
- Monitor soil moisture and plant response.
- Broken or leaking tools
- Inspect plastic spikes or tubes for cracks.
- Replace damaged parts to maintain efficiency.
- Algae in reservoirs
- Clean reservoirs weekly.
- Keep them out of direct sunlight if possible.
Final Tips
- Check plants regularly, even with self-watering tools.
- Use plain water; avoid chemicals that can harm plants or clog tools.
- Adjust water supply according to weather; hot days need more water.
- Combine tools for different needs; small spikes for indoor plants, ollas for outdoor gardens.
- Make self-watering tools part of your routine for healthy, thriving plants.
By choosing the right tool, maintaining it well, and monitoring your plants, you can enjoy a healthier garden with less effort. Even beginners or busy gardeners can benefit greatly from these simple tools.
FAQs
Q1: Can I use self-watering tools for all plants?
A1: Most plants benefit from consistent moisture. Adjust the tool and water frequency for succulents or cacti, which need less water.
Q2: How often should I clean self-watering tools?
A2: Clean them every 1–2 weeks for small tools. Large drip systems should be flushed monthly.
Q3: Are self-watering tools safe for indoor plants?
A3: Yes. Tools like watering globes, spikes, and self-watering pots are perfect for indoor use.
Q4: Can I use fertilizer in self-watering systems?
A4: Some systems allow diluted liquid fertilizer. Check the manufacturer’s instructions.
Q5: How do I prevent algae growth in reservoirs?
A5: Clean the reservoir regularly and keep it out of direct sunlight if possible.